
Indulge in the Rich Flavor of Our Coffee Mousse Dessert
What’s better than waking up to the aroma of freshly brewed coffee in the morning? Well, let me tell you – it’s a light, airy, and creamy coffee mousse dessert that will make you feel like you’re floating on clouds. With just a handful of ingredients and a little bit of patience, you can make an indulgent treat that will satisfy your sweet tooth and give you the caffeine boost you need.
In this recipe article, I’m going to show you how to make the perfect coffee mousse that has just the right balance of sweet and bitter flavors. Whether you are hosting a dinner party or craving some dessert after dinner, this recipe won’t fail to impress. Trust me; even if you aren’t much of a coffee lover, this mousse recipe will convert you into one.
To create this recipe, I’ve handpicked only the finest ingredients that complement each other perfectly. There’s no need for fancy equipment or complicated techniques; just a mixing bowl and an electric mixer are all you need. Whether it’s your first time making a mousse or not, I’m confident that with my in-depth instructions and helpful tips, this recipe is going to be a piece of cake! (Well, technically a piece of mousse). So pull up an apron and get ready for some deliciousness!
Why You’ll Love This Recipe
Hey there coffee lovers, if you’re like me, you’ll love a good coffee-inspired dessert. But what’s even better than a regular dessert? A coffee mousse dessert, that’s what! And I’m here to tell you why this Coffee Mousse Recipe is an absolute game-changer.
First and foremost, this recipe is incredibly easy to make. With just a few ingredients, you’ll be able to whip up a light and airy mousse in no time. And the best part? No fancy equipment required. All you need is a mixing bowl, electric mixer, and some elbow grease. That means you can impress your guests with a gourmet-looking dessert without breaking a sweat!
But let’s get to the good stuff – the taste. This Coffee Mousse Recipe packs a punch of robust coffee flavor that’ll awaken your senses and satisfy any caffeine cravings. The combination of unflavored gelatin, instant coffee, and whipping cream creates a creamy texture that’s oh-so-delectable.
And if that wasn’t enough to convince you, the versatility of this recipe should do the trick. You can switch things up by adding cocoa powder or semi-sweet chocolate for a rich chocolate coffee mousse variation. Or if you prefer a sweeter taste, simply add more sugar to your liking.
Overall, this Coffee Mousse Recipe is an easy crowd-pleaser that’s sure to impress with its creamy texture and bold coffee flavor. Don’t take my word for it; try it out for yourself and see why it’s quickly becoming one of my go-to desserts!
Ingredient List
Now let’s take a closer look at the ingredients you’ll need to create this creamy and decadent coffee mousse:
For the Mousse:
- 2 tbsp unflavored gelatin
- 1 cup boiling water
- 2 tbsp instant coffee
- 3 egg yolks
- 2 cups heavy cream
- ½ cup sugar
For the Chocolate Cream:
- 1 cup whipping cream
- 2 tablespoons sugar
- 1 teaspoon espresso powder
- 4 oz semi-sweet chocolate, chopped
This recipe requires several key ingredients, including coffee beans, eggs, unflavored gelatin, instant coffee and sugar. However, the highlight of this recipe is the light and airy texture of the coffee mousse. To achieve this, you will need to use egg yolks and whipped heavy cream, which are mixed together with the other ingredients. Meanwhile, the chocolate cream is made with whipping cream, sugar, espresso powder and chopped semisweet chocolate.
The Recipe How-To
Let’s dive into the nitty-gritty of making this coffee mousse recipe! It requires quite a few steps, but trust me, the end result is worth it.
Ingredients
- 2 cups heavy cream, chilled
- 1/4 cup granulated sugar
- 2 tbsp instant coffee granules
- 2 tsp unflavored gelatin powder
- 2 tbsp cold water
- 4 large eggs, separated
- 4 oz cream cheese spread, softened to room temperature
Step-by-Step Instructions
Step 1: Make the Coffee Base
In a small mixing bowl, whisk together 2 tablespoons of instant coffee granules and 1/4 cup of granulated sugar until well combined. Add 2 teaspoons of unflavored gelatin powder and stir until everything is blended evenly.
Step 2: Add Cold Water
Pour 2 tablespoons of cold water into the mixing bowl with the coffee mixture. Whisk it together until there are no lumps and you have a smooth slurry.
Step 3: Add Egg Yolks
Separate 4 egg yolks from the whites and place them in a heat-safe mixing bowl. Slowly pour your coffee slurry mixture into the egg yolks while stirring constantly.
Next, heat about 1 cup of water in a saucepan over medium-low heat until steam starts to rise from it. Place your mixing bowl over the saucepan to make a makeshift double-boiler. Keep whisking gently over low heat until the mixture thickens and coats the back of your spoon.
Note: Be sure to keep stirring constantly so that you don’t cook the eggs!
Step 4: Blend Cream Cheese Spread In
Once your mixture is cooked through with egg yolks, transfer it into a blender jar or food processor with 4 oz cream cheese spread. Blend it until you have a consistent mixture.
Step 5: Whip The Cream
Whip 2 cups of chilled heavy cream in a separate mixing bowl until it’s light and thick enough to form peaks.
Note: Make sure that your beaters are clean and free of grease, as this will significantly affect how well the cream whips!
Step 6: Fold In Egg Whites
Whisk 4 egg whites in another mixing bowl until they’re fluffy and reach the soft peak stage. Slowly fold them into the whipped cream by gently using a spatula.
Continue to gently fold in your coffee base mixture until everything is blended evenly. This can take some time, so be patient and make sure there are no unblended streaks in your mousse.
Step 7: Chill and Serve
To finish things off, refrigerate the coffee mousse in a large mixing bowl for at least 3-4 hours, or until fully set.
Once chilled, scoop out portions of
Substitutions and Variations
Alright, let’s talk about substitutions and variations for this coffee mousse recipe. This is where the magic happens, my friends. You can get creative and experiment with different variations of this recipe to suit your taste buds.
First things first, let’s talk about the coffee. In this recipe, we use instant coffee granules to add a strong coffee flavor to the mousse. However, you can also use freshly brewed coffee or espresso powder instead of instant coffee. If you’re a coffee lover, I recommend using a cup of strong brewed coffee or espresso powder for a richer and bolder flavor.
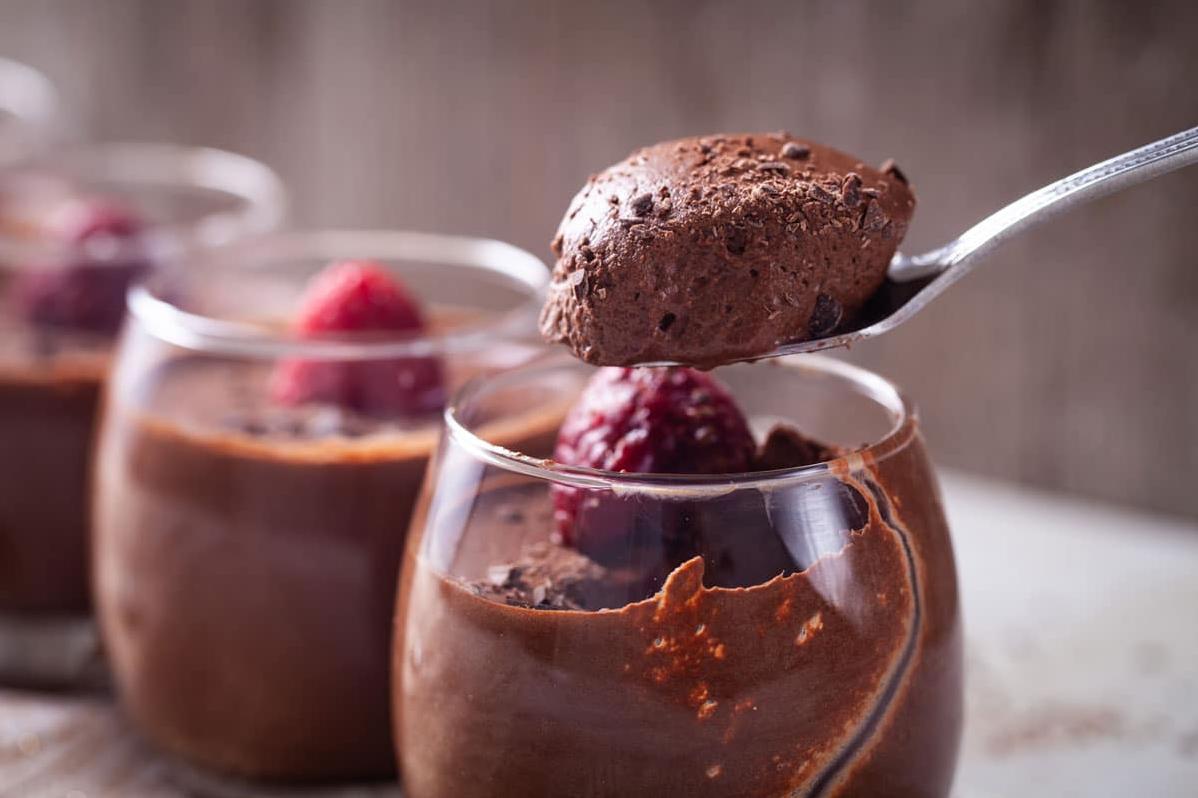
Now, let’s talk about the chocolate. This recipe calls for semi-sweet chocolate to balance out the bitterness of the coffee. However, you can also use unsweetened chocolate or milk chocolate depending on your preferences.
If you’re looking for a chocolaty twist on this recipe, you can try making a chocolate coffee mousse. Simply substitute half of the semi-sweet chocolate with melted milk chocolate and add 1 tsp of unsweetened cocoa powder to the mix.
For those who prefer a lighter mousse, you can also substitute cream cheese spread with coconut butter or another dairy-free alternative.
Lastly, if you’re feeling adventurous and want to experiment with different flavors, I suggest adding cinnamon, nutmeg or other spices to the mix for an extra kick of flavor.
Remember though that while substitutions and variations are great ways to experiment and personalize your recipe, it’s important not to stray too far from the main ingredients as it could affect the texture and consistency of your mousse.
Alright folks, those are some delicious substitutions and variations I recommend trying out on this recipe! Let me know which one is your favorite in the comments below!
Serving and Pairing
Listen up, all you baristas out there! Once the coffee mousse is made, it’s time to level up and serve it with style. This light and airy dessert can be served in many different ways depending on what you want to achieve.
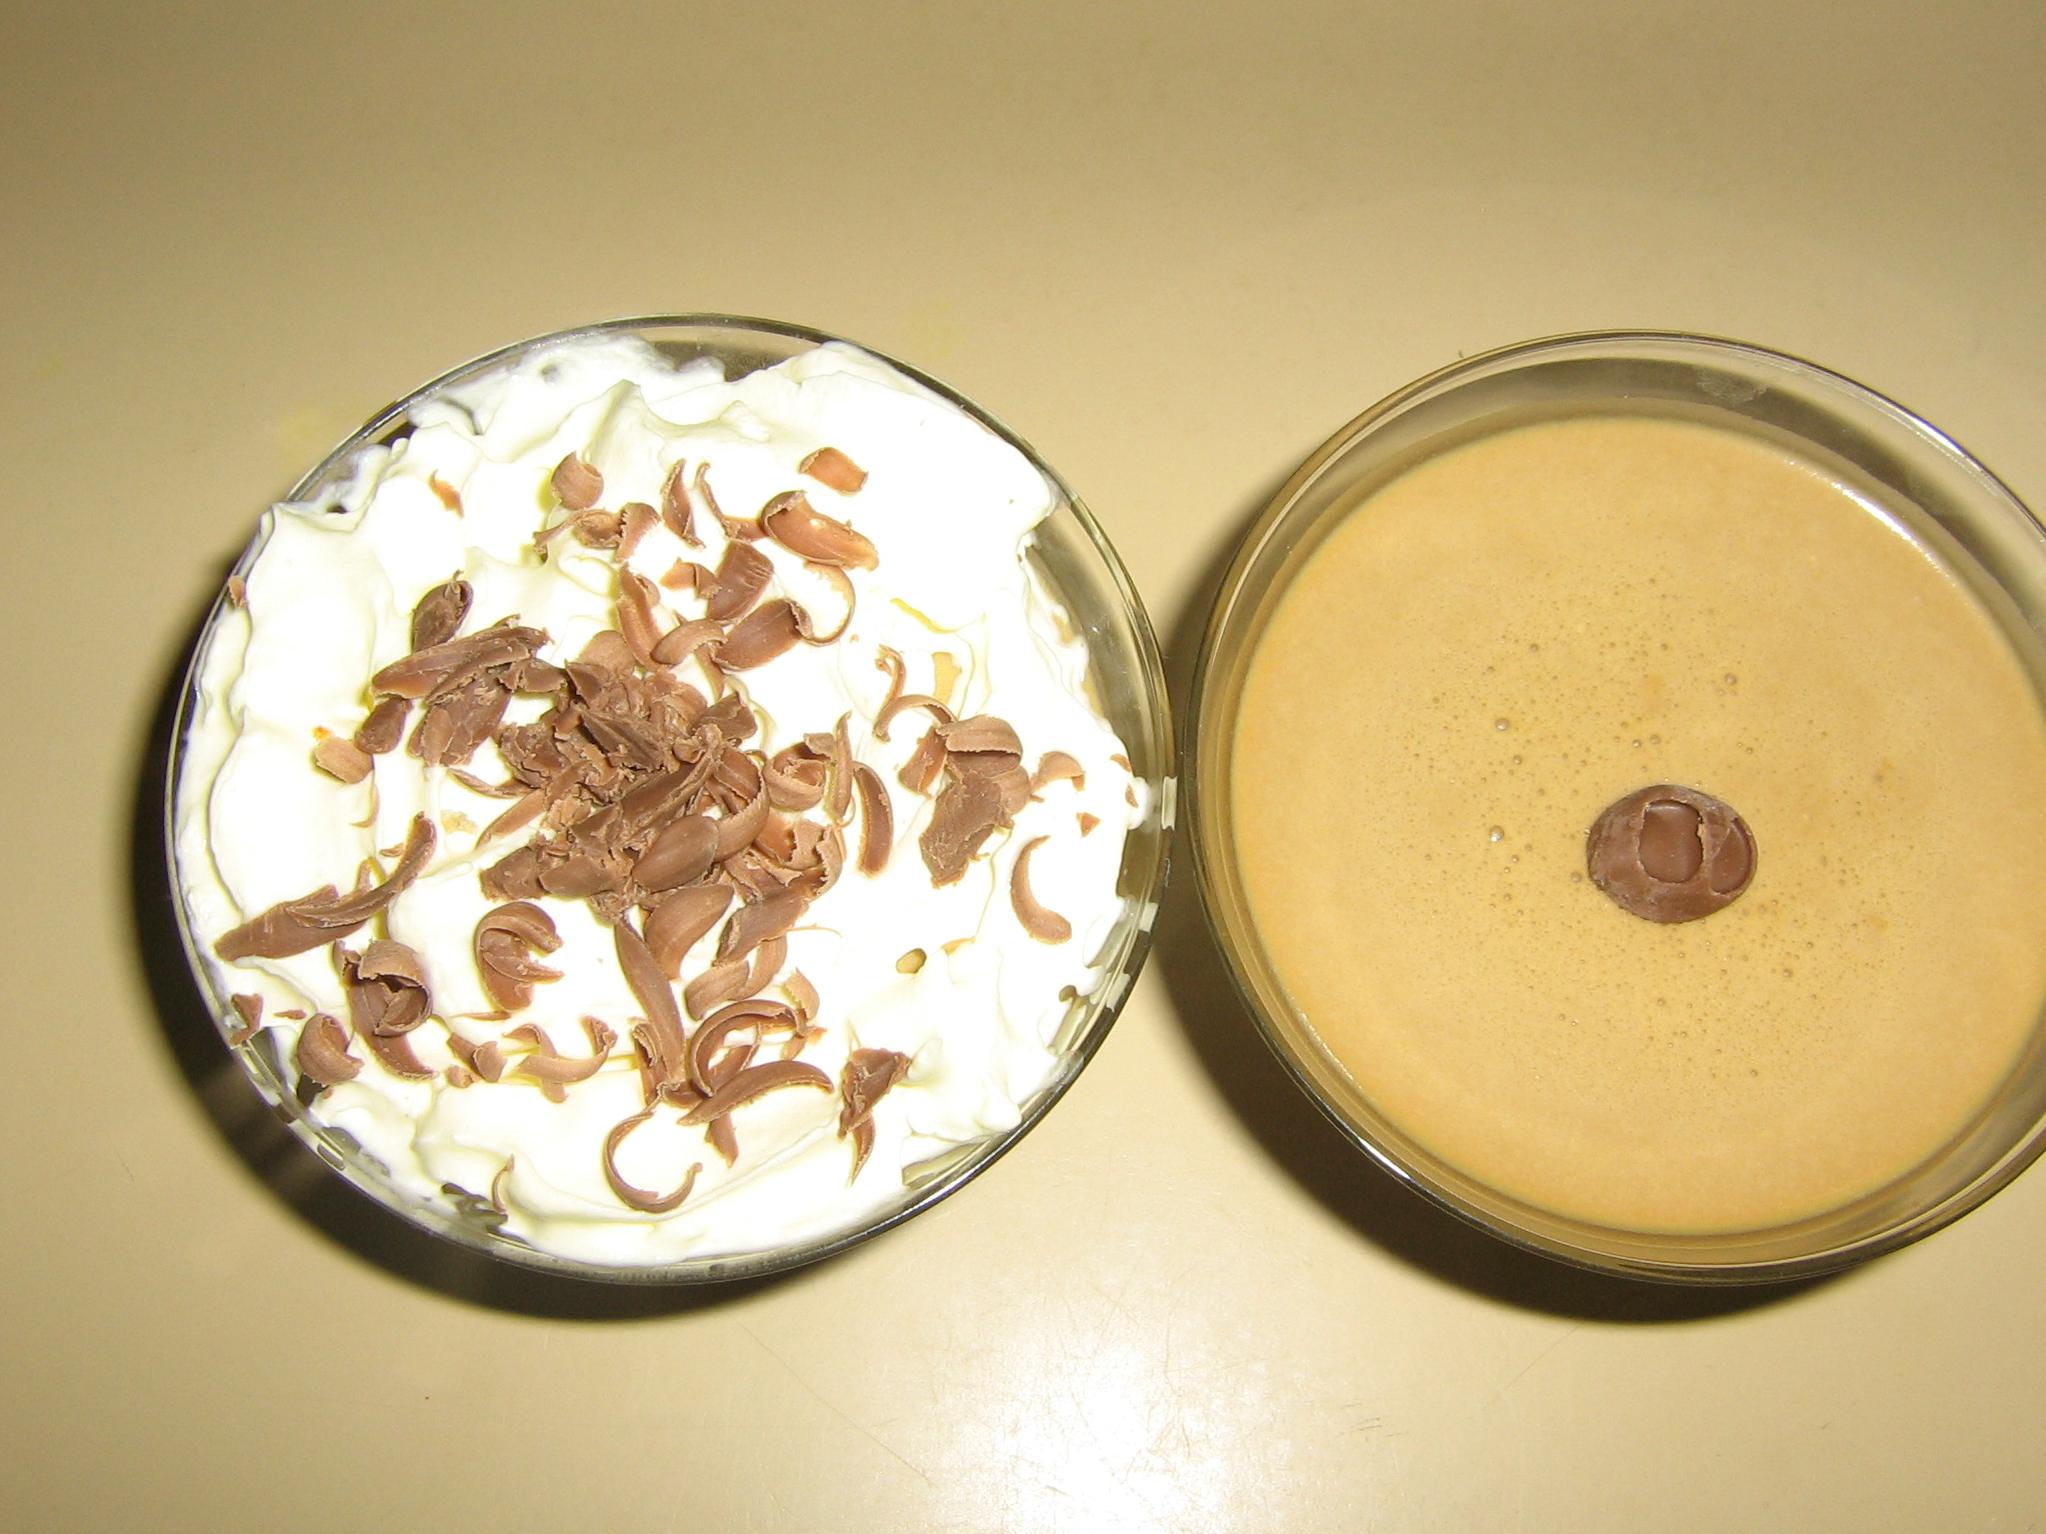
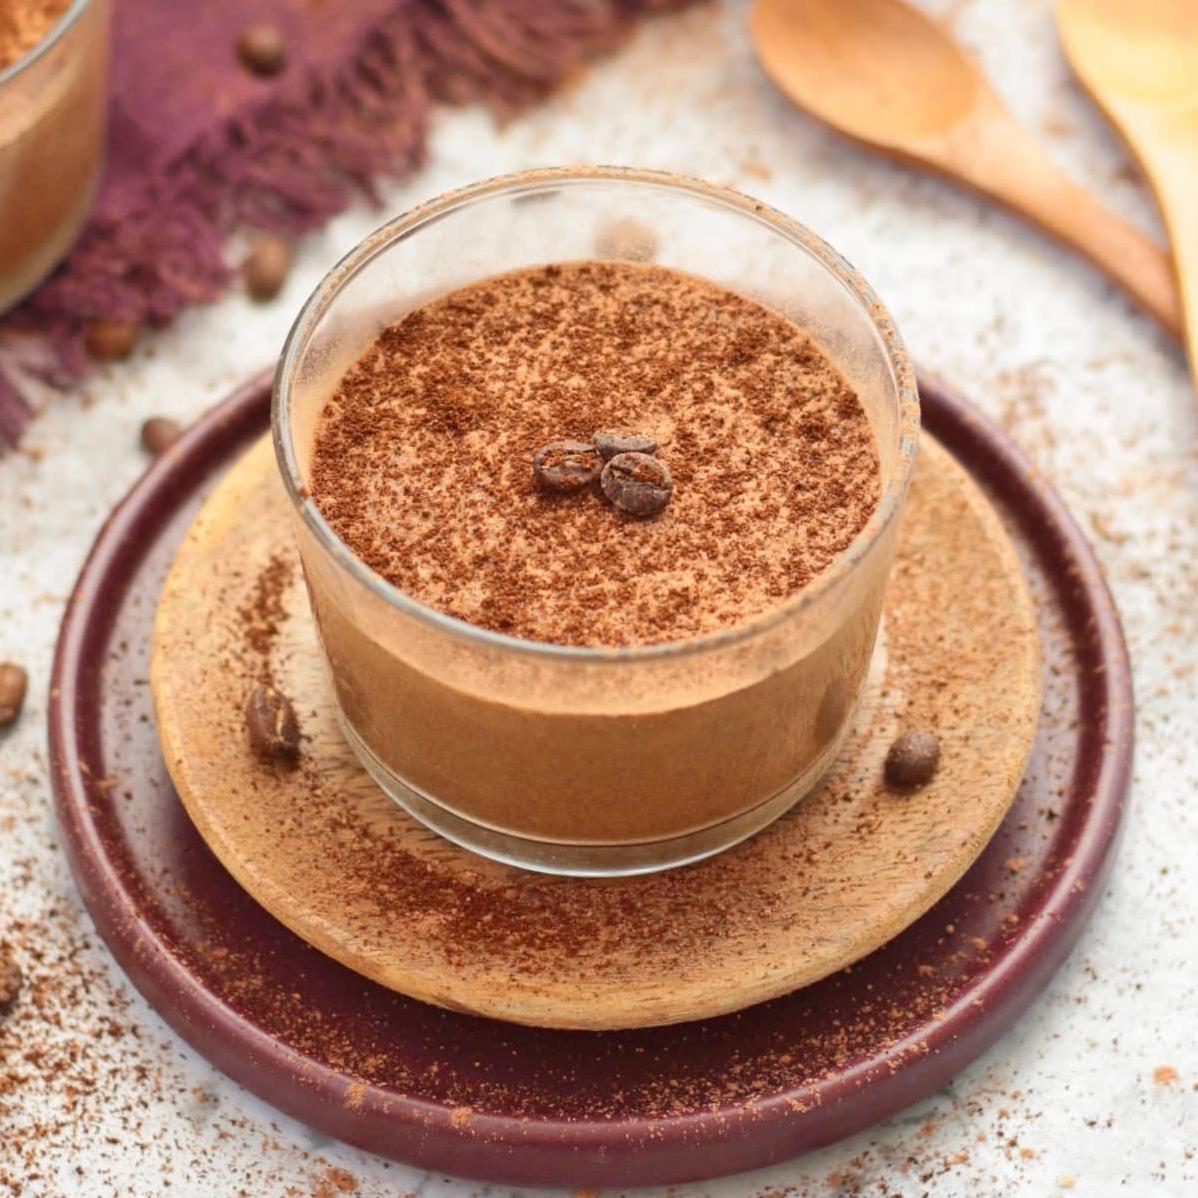
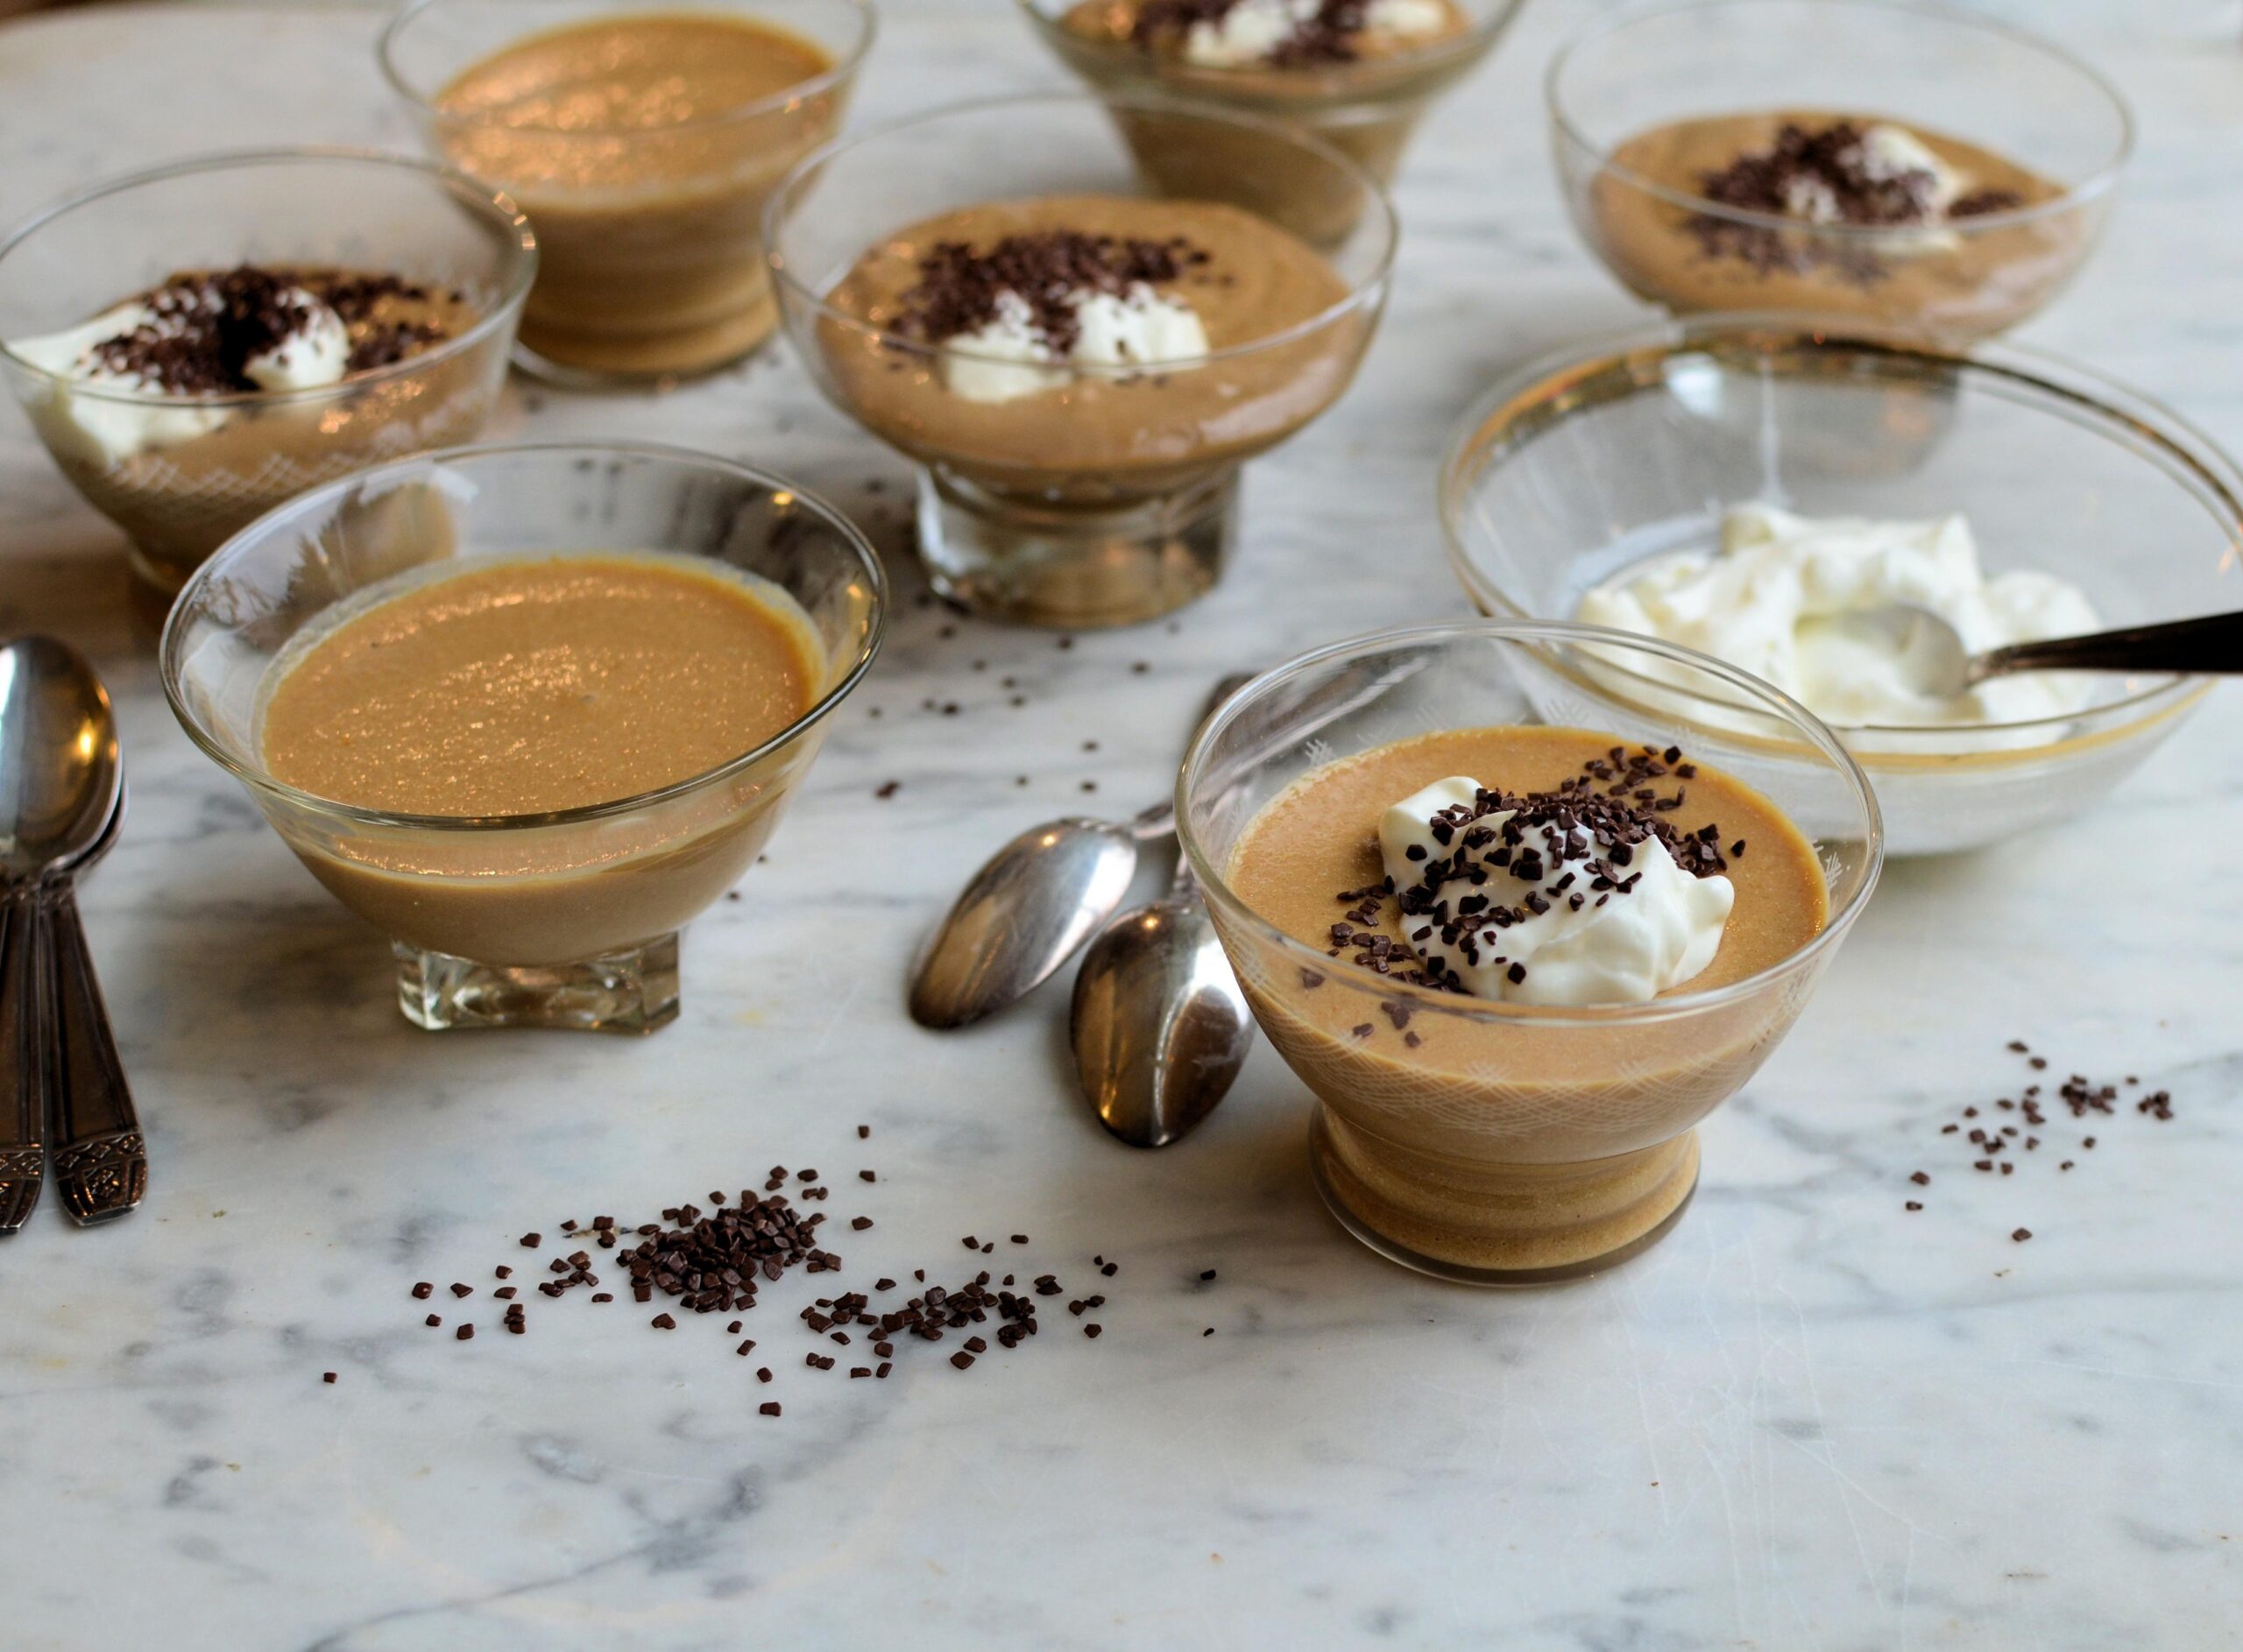
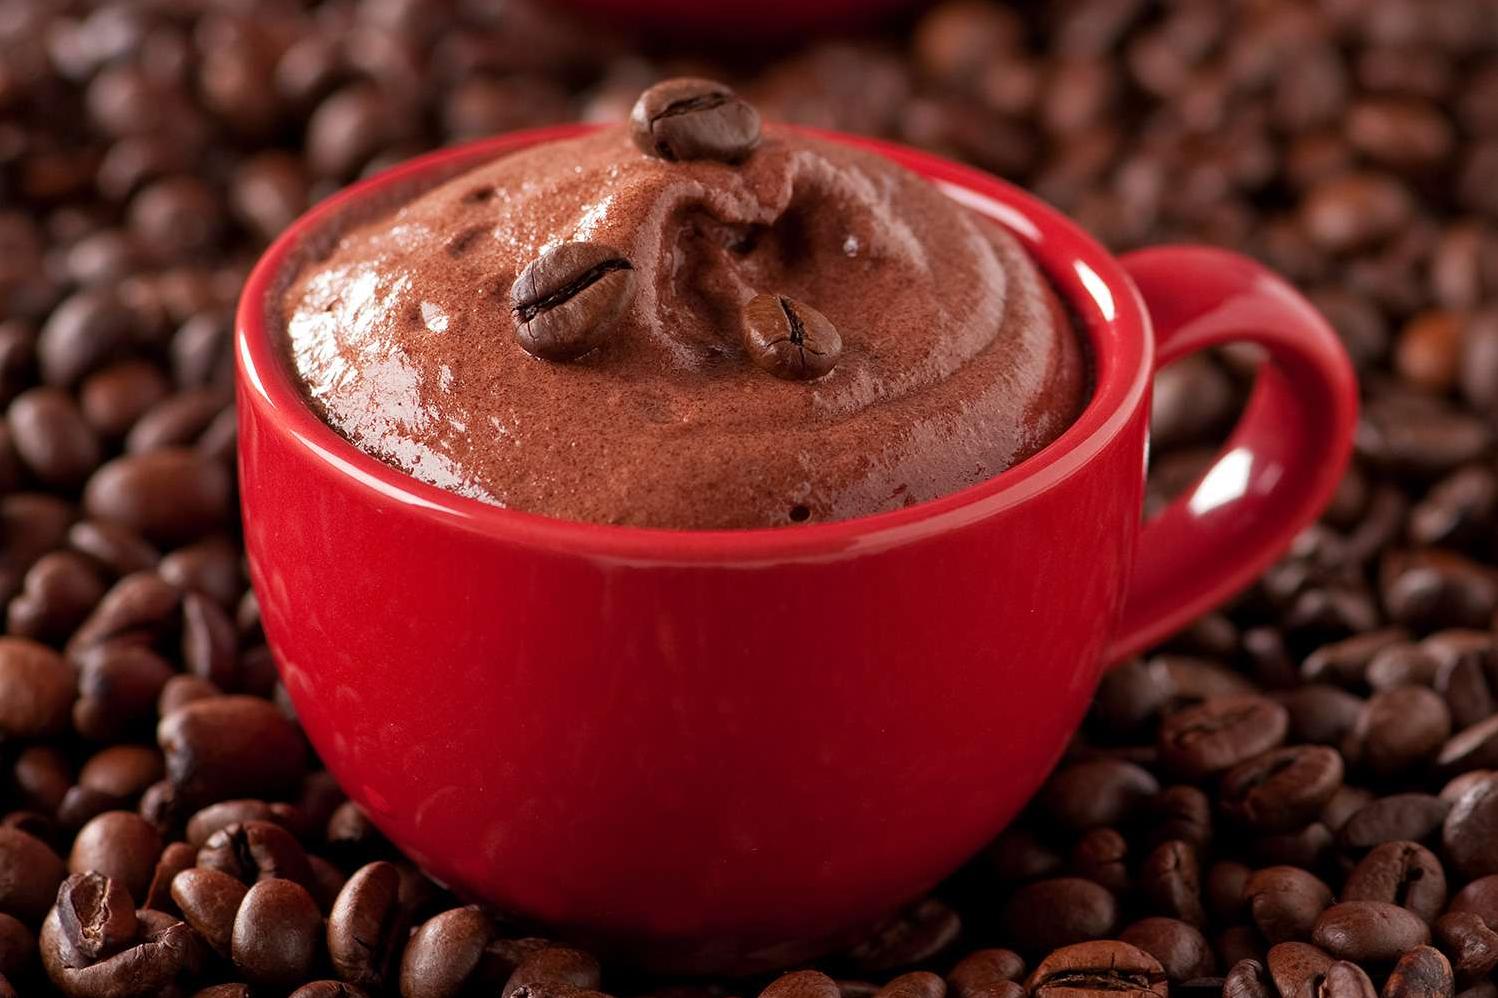
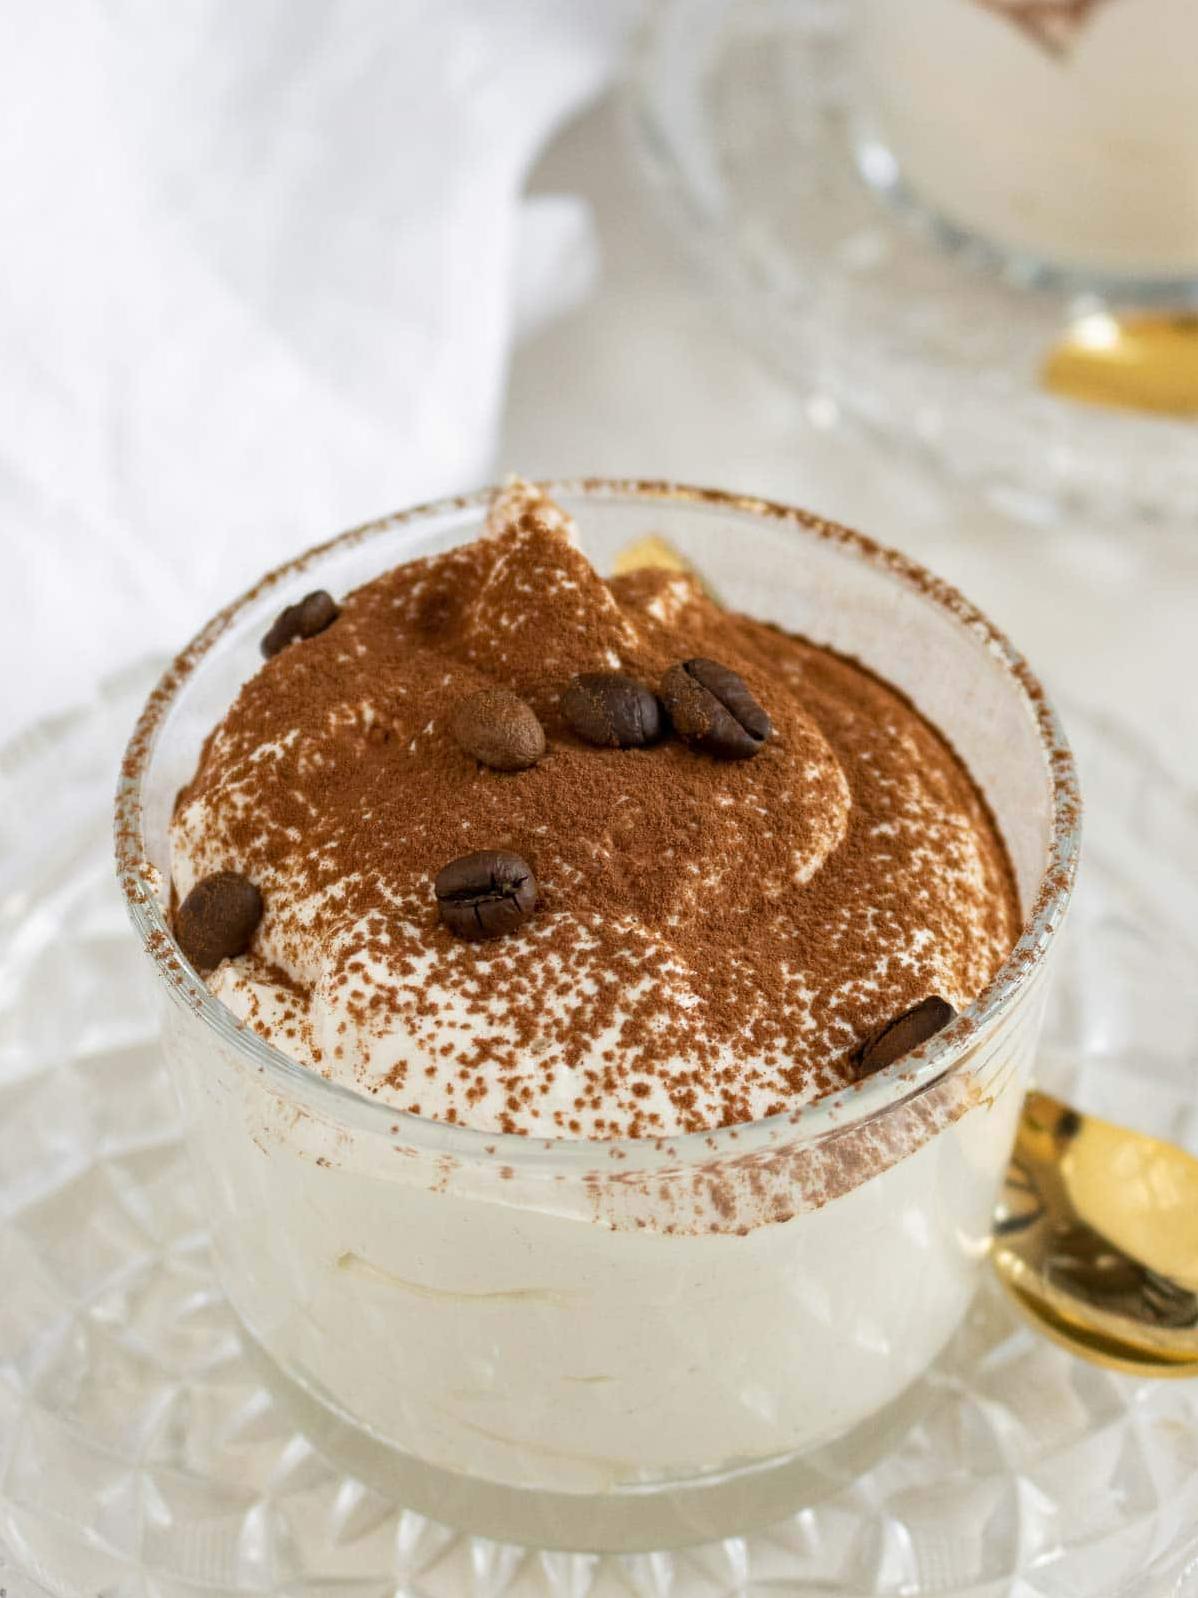
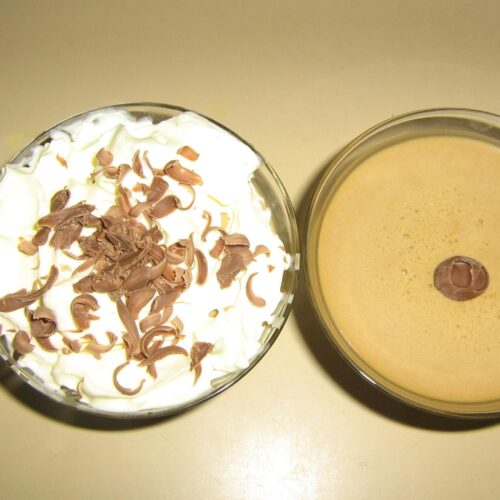
First off, you can simply serve the coffee mousse on its own, garnished with fresh coffee beans or shavings of chocolate, and let it shine as the star of the show. Trust me, once your customers take a bite into this silky smooth dessert, they won’t be able to resist another mouthful.
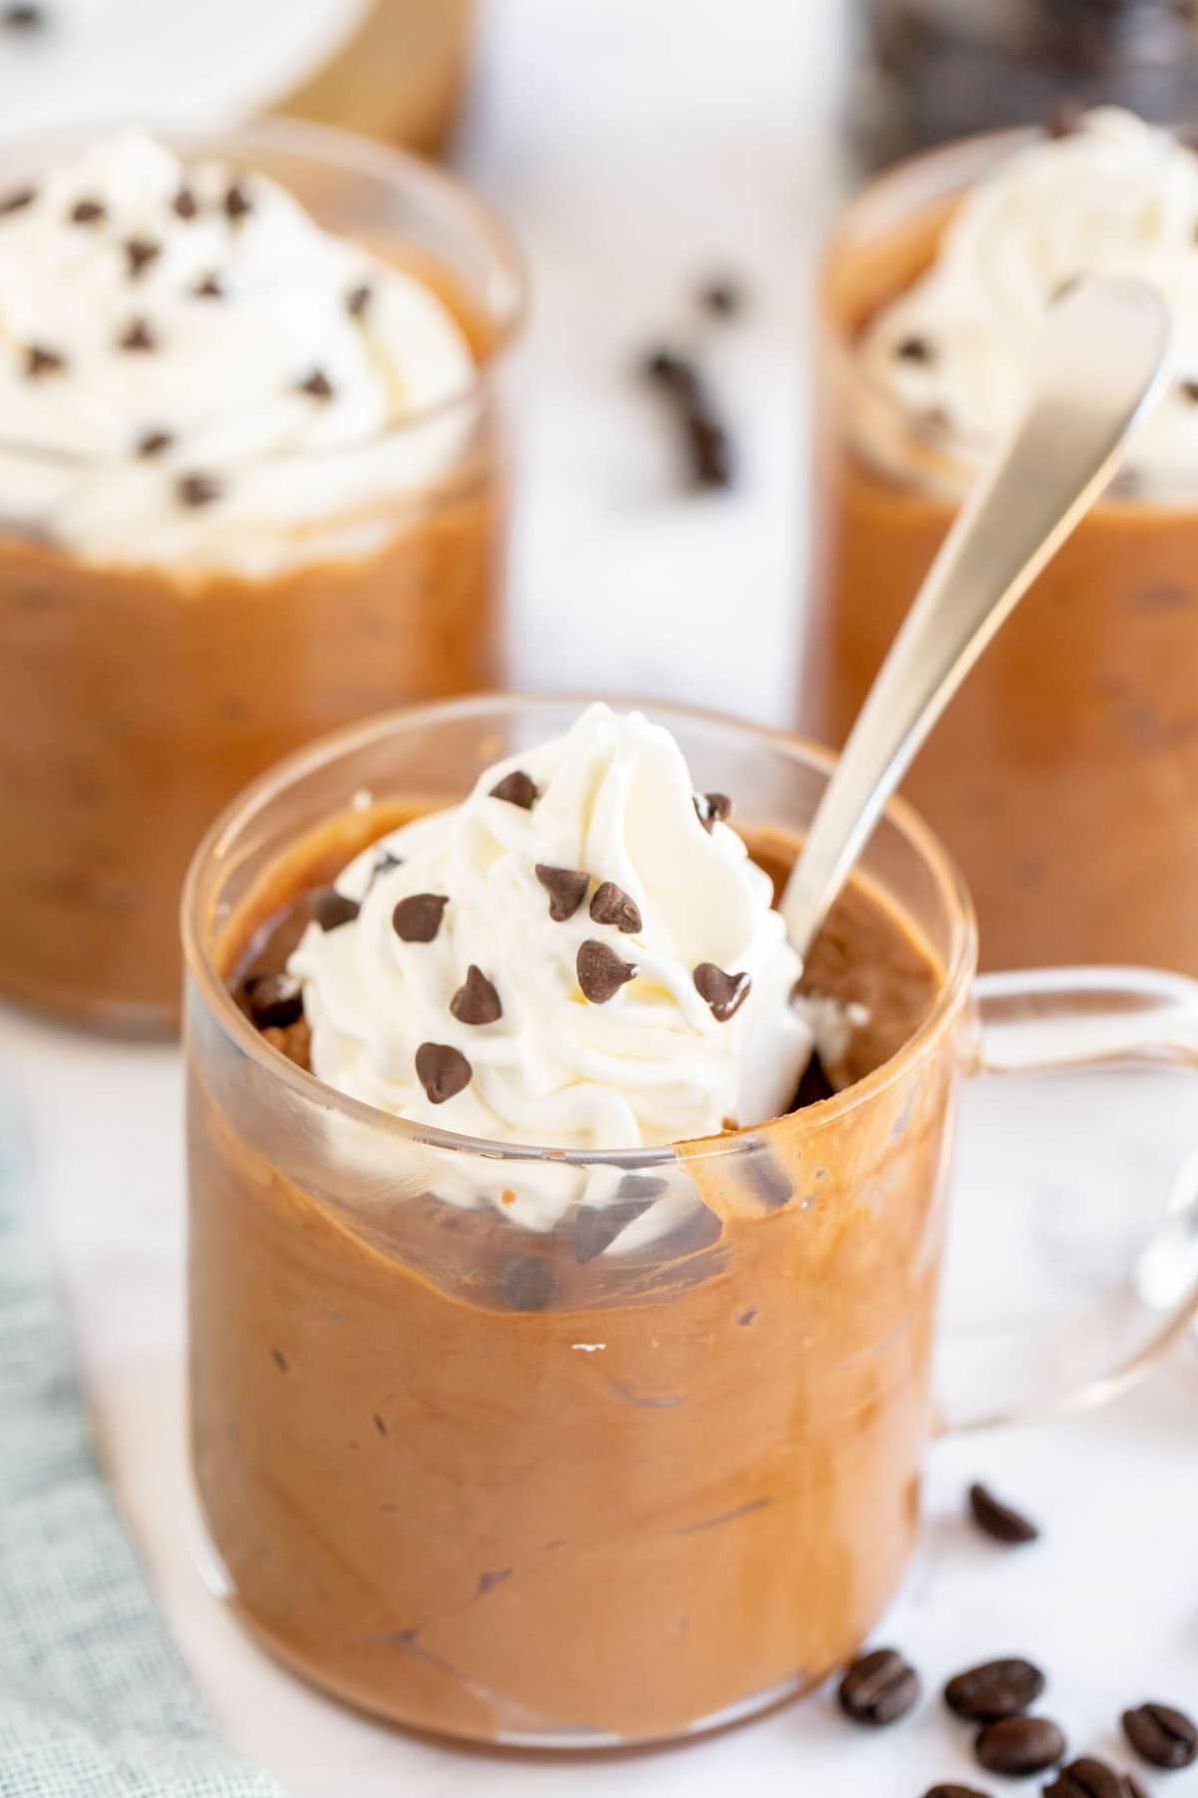
But if you’re feeling adventurous, try pairing the mousse with other flavors that complement its rich coffee taste. A drizzle of caramel or dark chocolate sauce on top of the mousse will give it a luxurious touch and enhance its already amazing flavor. You can also add a dollop of whipped cream on top for some extra sweetness.
When it comes to pairings, there are endless options with this recipe. For a breakfast or brunch treat, serve the coffee mousse with some warm croissants or crusty ciabatta bread for dipping. It’s also perfect as an after-dinner dessert alongside some freshly-brewed coffee or espresso.
For those who love a little bit of a kick, why not try serving the coffee mousse with a shot of liqueur such as Irish cream or Kahlua? The added alcohol will balance out the sweetness and give your customers that extra buzz they crave.
No matter how you choose to serve this coffee mousse, don’t forget to tell your customers about all the different options available for pairing and dressing up this decadent dessert. It will leave them coming back for more!
Make-Ahead, Storing and Reheating
Attention all you busy bees out there! If you’re looking to whip up a batch of this heavenly coffee mousse in advance, let me tell you – it’s completely doable! Firstly, it’s best to make the mousse a day ahead so that it has plenty of time to set and become gloriously chilled.
Once your coffee mousse is done, transfer it into an airtight container and pop it in the fridge for up to two days. Trust me, this recipe works wonders as a make-ahead dessert option for dinner parties or special occasions. And as always, remember to cover it up tightly – nobody wants any fridge odor seeping into their beloved dessert, amirite?
Now, let’s move on to reheating. Here’s the deal, folks – this mousse is tastiest when served chilled, but if you really want to warm things up, I recommend doing so by placing the container with the mousse in warm water. Whatever you do, don’t stick it in the microwave or heat it directly over the stove! Doing so could lead to scrambled eggs and granulated gelatin which would be such a painful waste of good ingredients.
Lastly, let me give you some storage tips. If you’ve got leftovers and want to store them for later use (which I highly doubt will happen because this mousse is way too good), simply transfer them into an airtight container and keep them covered in your fridge for up to two days. And that’s all folks! Follow these steps and your coffee mousse will stay deliciously fresh and creamy no matter what.
Tips for Perfect Results
Now, let’s get into some tips that will help you create the perfect coffee mousse. Many people make common mistakes when making mousse, but with these tips, you’ll be able to avoid them and create a light and airy dessert that satisfies any craving.
Firstly, ensure that all your ingredients are at room temperature. This makes everything easier to mix together smoothly and quickly. If you add cold ingredients to room temperature ingredients, it will cause the mixture to curdle or become lumpy.
Secondly, when whipping cream for the recipe, make sure your whisk or electric mixer and bowl are chilled. This helps the heavy cream whip up faster and hold its shape better. No one wants their whipped cream to turn into a soupy mess!
Thirdly, don’t overmix the mousse. Once all of the ingredients are combined, stop mixing. If you keep beating the mixture, it can deflate and lose its light and bubbly texture.
Fourthly, be careful not to overheat the gelatin. Heat it until it’s completely dissolved but don’t let it boil. Overheated gelatin won’t set properly and will run all over the plate instead of holding its shape in a beautiful swirl.
Lastly, if you want to make chocolate coffee mousse, simply add some semi-sweet chocolate to the recipe. Substitute 40 grams of chocolate for 2 tablespoons of instant coffee granules. Mix it in until melted and continue with the recipe as directed.
By following these simple tips, your coffee mousse will be creamy, fluffy, and decadent every time!
FAQ
You must be getting excited about trying out this delicious coffee mousse recipe, but I understand that some questions may still linger. That’s why I’ve compiled a list of frequently asked questions about the coffee mousse recipe to help ease your mind and ensure nothing stands in the way of your perfect recipe execution. So, let’s dive right in and address any concerns you may have.
What are the four basic components of a mousse?
When it comes to making mousse, there are only a handful of ingredients necessary. The essential components include the base, the aerator, a sweetener (usually mixed into the aerator), and a thickener (this is sometimes an optional ingredient depending on the recipe).
What are common mistakes when making mousse?
One crucial aspect in making a great coffee recipe is the emulsification process. Ensuring that each component is properly integrated in a uniform manner can make or break the quality of the final product. Failure to emulsify as needed can result in a mousse that is too soft or has a grainy texture.
Is mousse just whipped pudding?
Creating mousse involves the process of combining a cold mixture of milk and sugar with beaten egg whites or whipped cream. The mixture is not cooked and the incorporation of air results in a delicate and airy texture that differentiates it from pudding. To retain its texture, mousse is mostly served at cool temperatures or frozen.
Is mousse just whipped ganache?
Although chocolate and cream are common ingredients in both ganache and mousse, the two differ in texture and method of preparation. Ganache is dense and silky, while mousse is light and fluffy in texture. Ganache is made by combining melted chocolate and cream, while mousse is created by beating together cream, egg whites, and other ingredients.
Bottom Line
And there you have it, folks! My recipe for a delicious and light coffee mousse that is sure to impress your guests or just satisfy your sweet tooth cravings. This dessert has the perfect balance of coffee flavor and sweetness that will surely have you coming back for more.
While making a perfect coffee mousse may not be the easiest task, with the right ingredients and following my tips, you can make a light and airy dessert that will leave everyone asking for seconds.
Remember to use high-quality coffee beans and instant coffee powder for the best result. Don’t rush the process of dissolving the gelatin and whipping the cream as this will affect the texture of your mousse. And most importantly, don’t forget to enjoy every step of making this wonderful dessert.
With a little bit of patience and practice, you can become a pro at making coffee mousse and impress everyone who tries it. So go ahead and give this recipe a try, I can guarantee it will be a hit!
Thank you for taking the time to read my article on how to make delicious coffee mousse. I hope my detailed instructions, tips, and recommendations have helped you in creating a light, creamy and flavorful dessert that everyone will love. Happy baking!
Coffee Mousse Recipe
Ingredients
- 2 tablespoons maxwell house instant coffee
- 1 1/2 teaspoons unflavored gelatin
- 1/4 cup water (room temperature)
- 1/4 cup boiling water
- 1/2 cup cream cheese spread (1/2 of 250-g tub)
- 1/3 cup sugar
- 2/3 cup whipping cream
- 2 eggs
- 6 coffee beans
Instructions
- mix coffee granules, gelatine and room temperature water in small bowl until well blended. Add boiling water; stir at least 1 minute or until gelatine is completely dissolved. Cool to room temperature.
- beat cream cheese and sugar in large bowl with electric mixer on medium speed until well blended. Gradually add cream, beating until well blended. Add eggs; beat just until blended. Gently stir in coffee mixture.
- pour evenly into 6 dessert dishes. Refrigerate several hours or until set. Top each with coffee bean just before serving.
Add Your Own Notes
Nutrition
Recommended Recipes Just For You